
Select “Click here to switch to switch to the old app gallery experience“

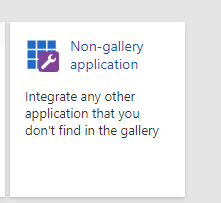
Select “Non-gallery application“
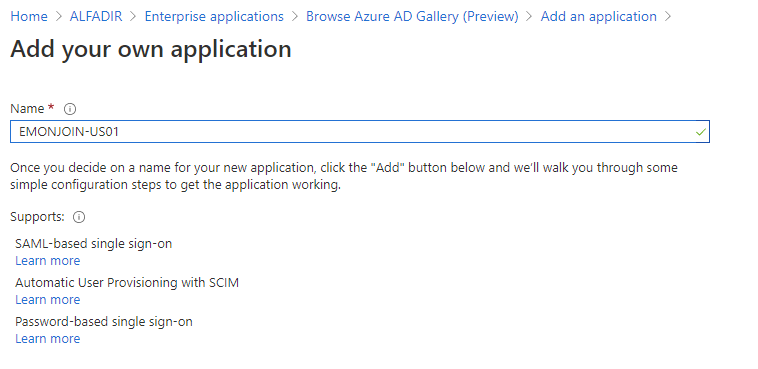
Type a name for this application (Tenant name for exemple) and click “Add” (bottom-left)
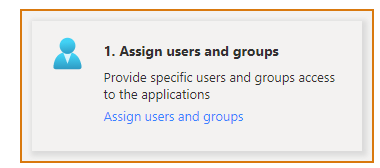
Select “1. Assign users and groups” and click “Add user”
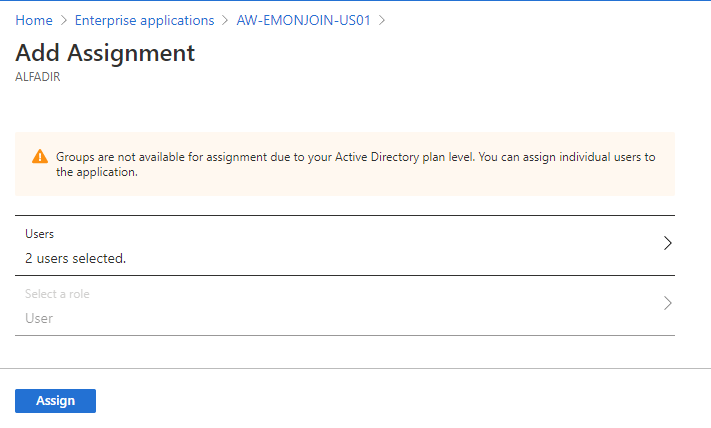
Add all required users and click “Assign”
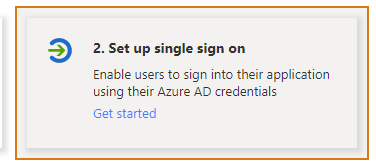
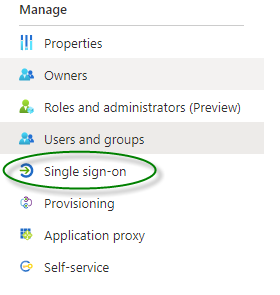
Click “2. Set up single sign on” or “Single sign-on” on the left pane.
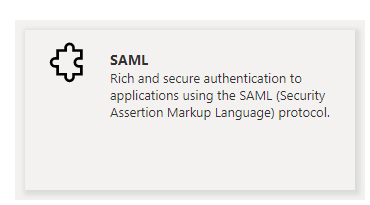
Select “SAML“
Click “Edit“
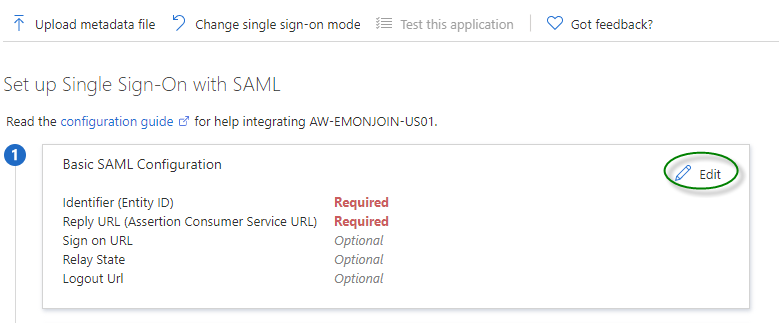
Fill the Identifier (Entity ID) and Reply URL (Assertion Consumer Service URL) with your Workspace ONE Access tenant information and click “Save“
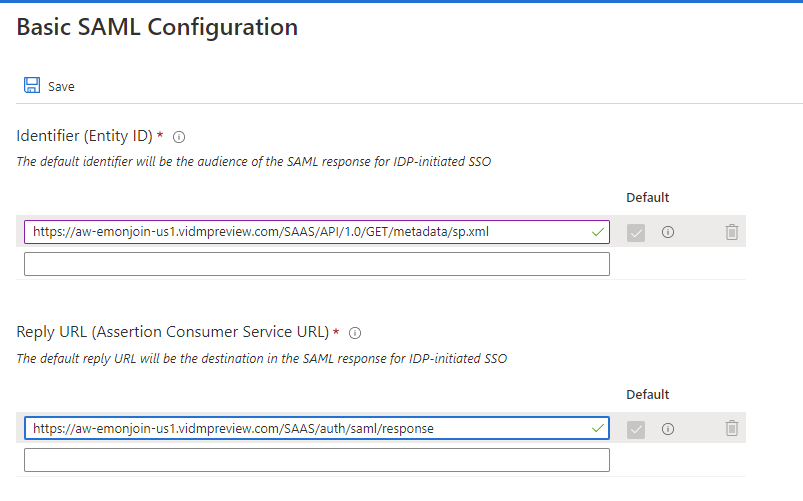
As said by default the following attributes are used :

But in my case I had to use the Alternate email so I only change it for :

Now we need to save the Federation metadata so we can import it it in Workspace ONE Access, so one the block number “3”, click “Download” in front of “Federation Metadata XML“

Nothing more to do on the Azure side, now let’s configure Workspace ONE Access…
Login as admin and select “Identity & Access Management” then “Identity Providers“
Click “Add Identity Provider” (upper right)
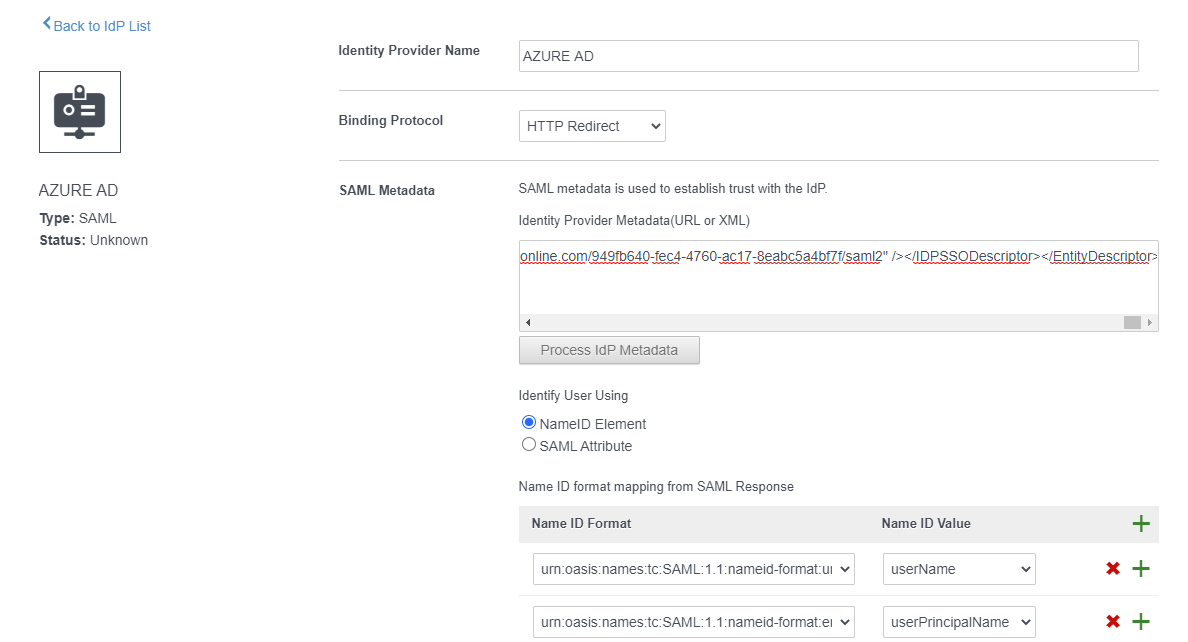
Fill the required informations :
Identity Provider Name : Something to identify this IdP eg. Azure AD
SAML Metadata : copy and past the content of “Federation Metadata XML” and click “Process IdP Metadata“
Name ID Format:
urn:oasis:names:tc:SAML:1.1:nameid-format:unspecified = userName
urn:oasis:names:tc:SAML:1.1:nameid-format:emailAddress = userPrincipalName
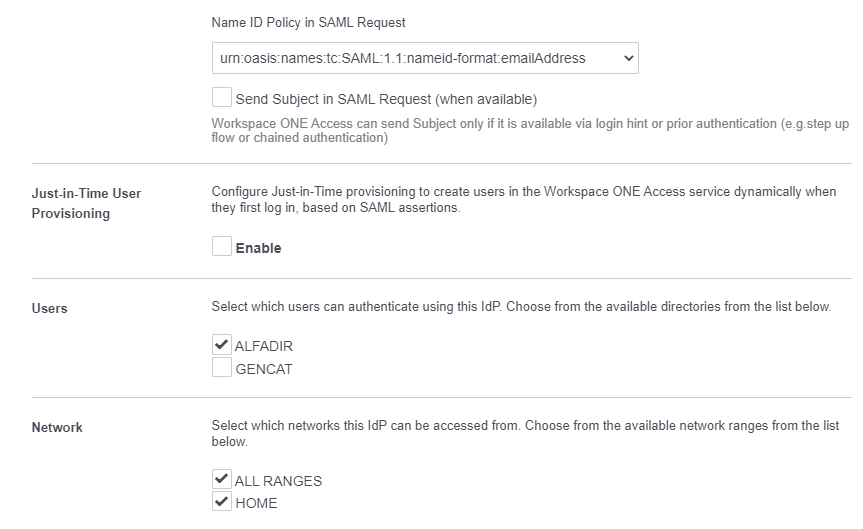
Name ID Policy in SAML Request : urn:oasis:names:tc:SAML:1.1:nameid-format:emailAddress
Network: Select appropriate networks
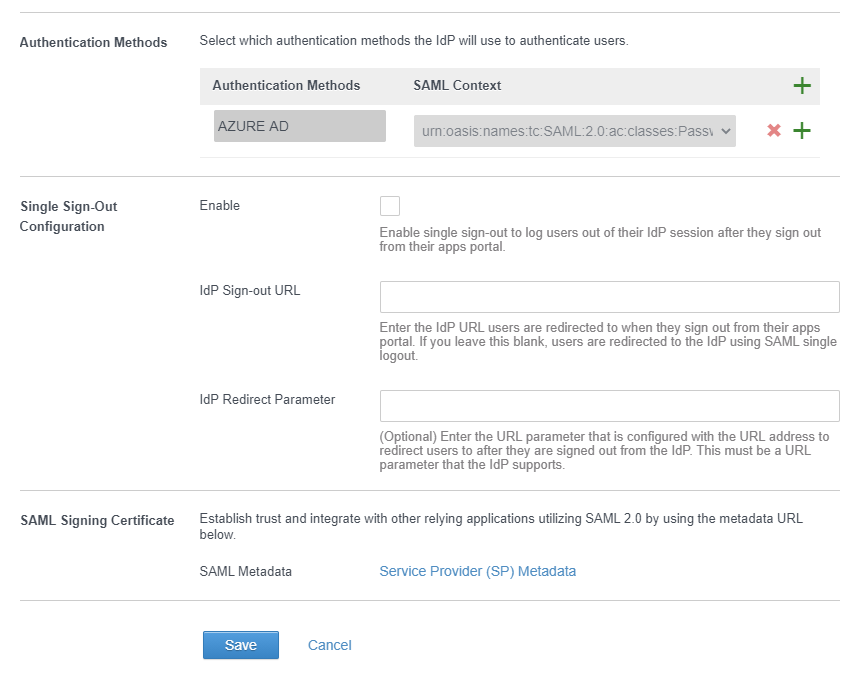
Authentication Methods : Something to identify this IdP eg. Azure AD
SAML Contexts : urn:oasis:names:tc:SAML:2.0:ac:classes:PasswordProtectedTransport
Once done you can specify your Azure AD as authentication method in the Policies for this, select “Policies” and “EDIT DEFAULT POLICY”

Select “Configuration” \ “<Network Range>”
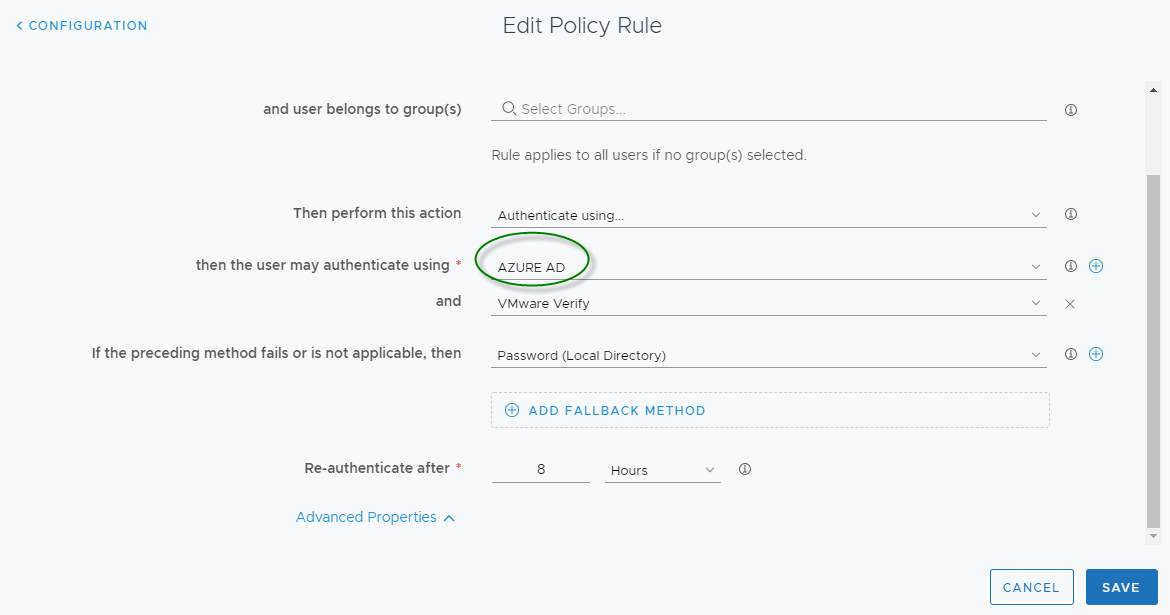
Finally select “AZURE AD” (or whatever you call it) and Save


Recent Comments