

That said, let see how to configure WS1 :
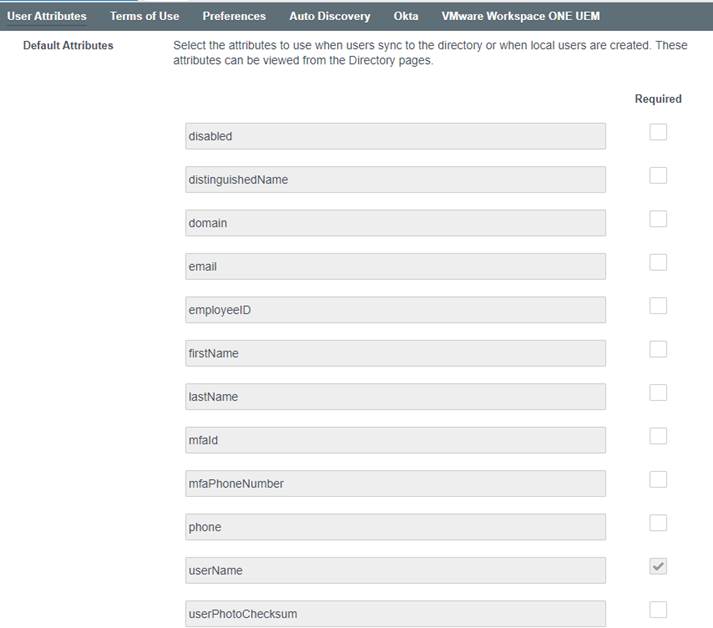
1 – In Identity & Access Management \ Setup \ User Attributes
Only UserName should be checked as required
2 – In Identity & Access Management \ Setup \ Preference
Check Sync Group Members to the Directory When Adding Group
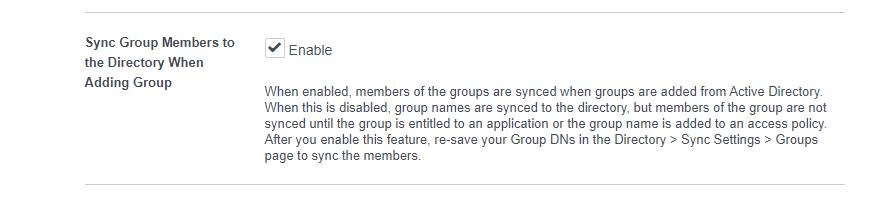
Note : this prevent synching all users but only required one.
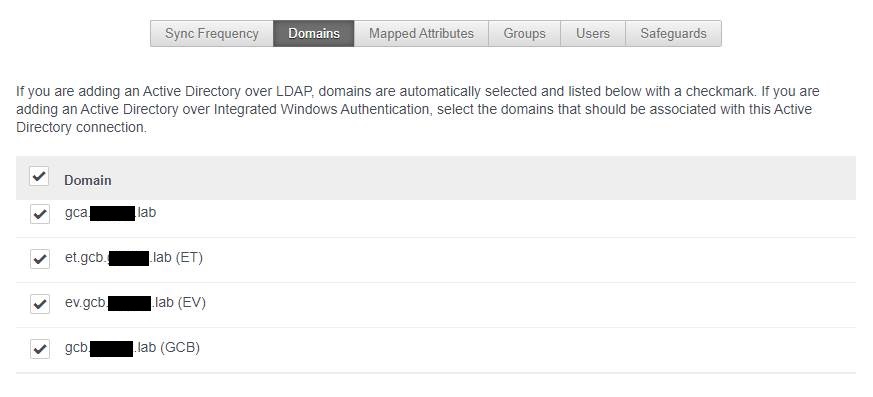
3 – In Identity & Access Management \ Manage \ Directory
3a – Ensure all required domains are selected :
3b – Specify OU when to find required groups and select required groups
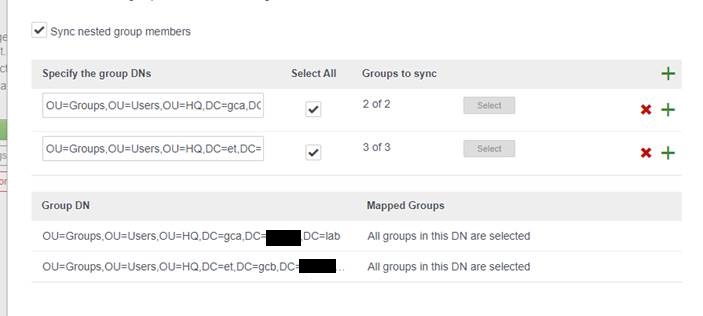
3c – Don’t specify Users unless you want to add a specific account who’s not belong to a group you select in the previous step (for example admin accounts)
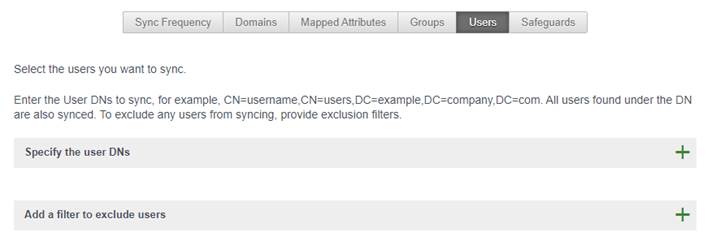
3d – OPTIONAL – clear all percentage so Safeguards will not bother you when adding/removing users

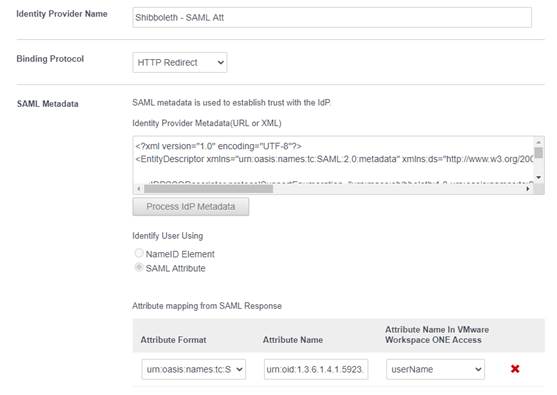
4 – In Identity & Access Management \ Manage \ Identity Providers, click Add Identity Provider then Create Third Party IDP to add Shibboleth:
4a – Identity Provider Name : Up to you but “Shibboleth” is good idea 😊
In SAML Metadata :
4b – Copy Shibboleth IdP Metadata to SAML Metadata and click Process IdP Metadata
4c – Select SAML Attribute (instead of NameID Element)
4d – Attribute Format, select urn:oasis:names:tc:SAML:2.0:attrname-format:uri
4e – Attribute Name, type : urn:oid:1.3.6.1.4.1.5923.1.1.1.6
4f – Attribute Name is VMware Workspace ONE Access, select UserName
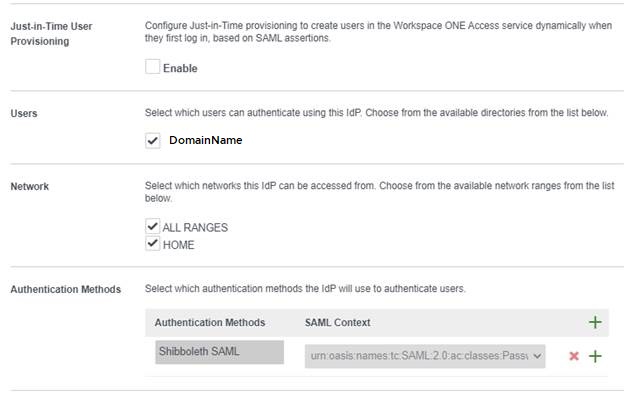
Users :
4g – Check appropriate domain
Network :
4h : Check appropriate network (certainly only ALL RANGES, unless you set another one)
Authentication Methods
4i – Authentication Methods : Up to you but “Shibboleth” is good idea as well 😊
4j – SAML Context : Select urn:oasis:names:tc:SAML:2.0:ac:classes:PasswordProtectedTransport
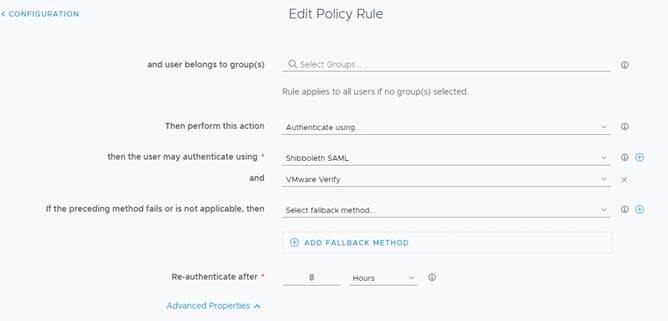
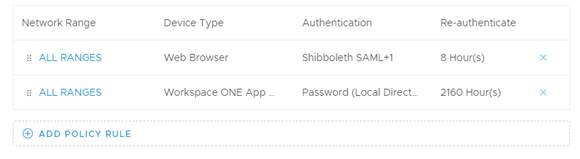
5 – In Identity & Access Management \ Manage \ Policies
5a – Click Edit Default Policy
5b – For ALL RANGES (or required network), specify Shibboleth as Authentication Method and Verify as well if you want to add VMware Verify as MFA.

Recent Comments