

Every Friday we have an informal meeting with peoples from VMware PS: Architect, Sr Consultant and Consultant but also TAM and Project manager as well and today we spoke about the depreciation of IWA with vCenter 7 and so the necessity to move to AD FS for upcoming release :
Deprecation of Integrated Windows Authentication
Integrated Windows Authentication (IWA) is deprecated in vSphere 7.0 and will be removed in a future release. For more information, see VMware Knowledge Base article 78506
So we started to have look about how to move from IWA to AD FS and for this I deployed a brand new vCenter 7 on my own labs as many questions arise : How other applications will deal with this change (I mainly thought to Horizon and App Volumes Manager) but also could we still connect using the local vsphere.local domain. Spoiler : Yes it works for both (external apps and using local account)
Now let see how to configure this 🙂
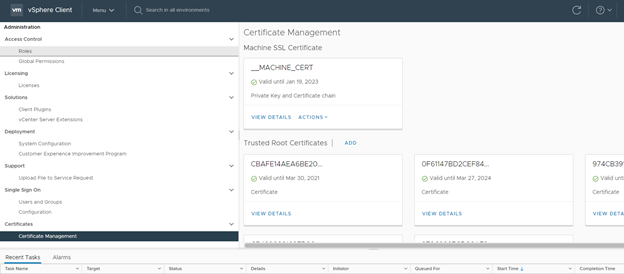
First ensure you have added your AD FS root certificate in the vCenter trust store
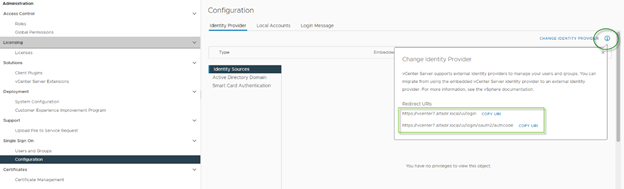
Secondly we need to retrieve the URI from the vCenter :
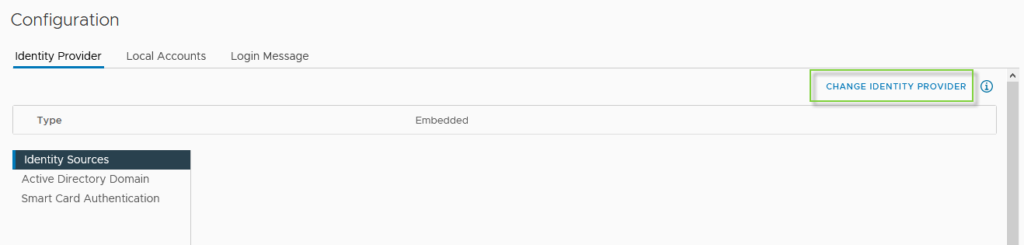
Go to Menu \ Administration then Single Sign On \ Configuration
Click the “i” right to “Change Identity Provider” and copy / past information or keep this page open
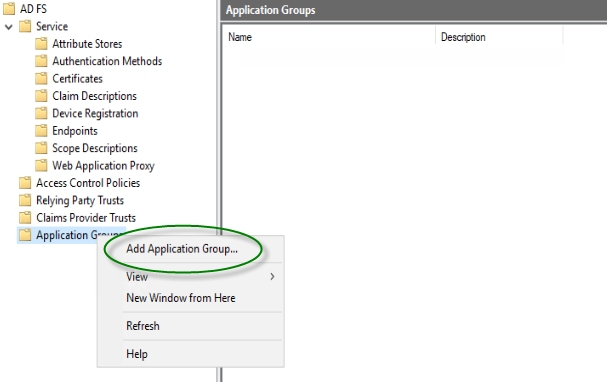
Now go to you ADFS server, open the AD FS Console and after doing a “right click” on Application Group, select “Add Application Group…“
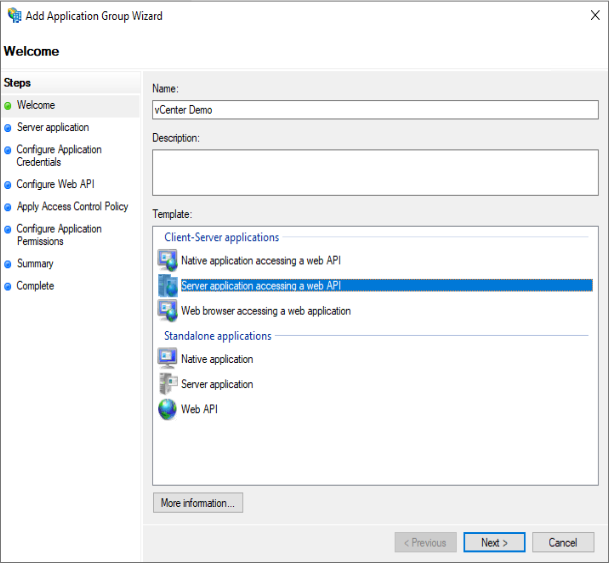
Select “Server application accessing a web API”
Copy and past in Notepad the “Client Identifier“
Copy and past both URI from the vCenter to “Redirect URI“
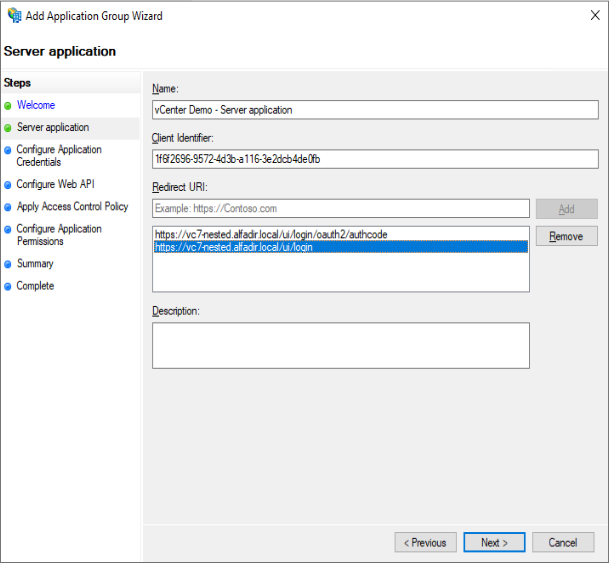
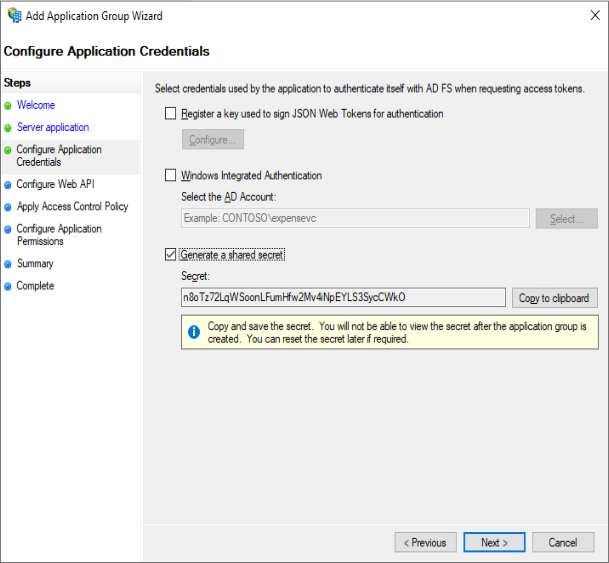
Click “Generate a shared secret” and copy/past the secret to Notepad
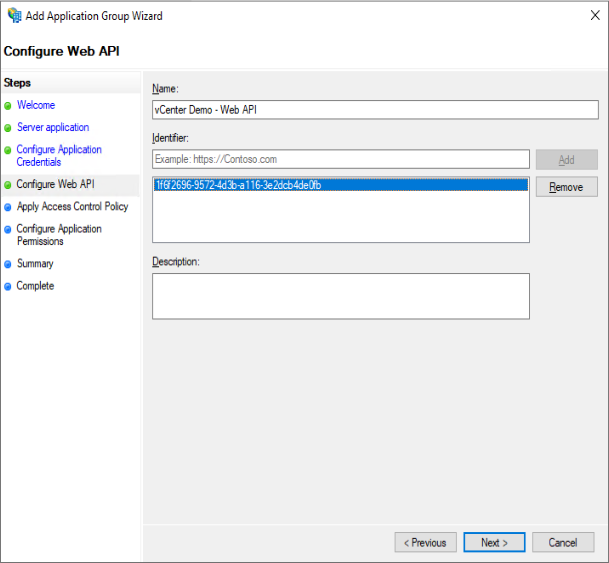
Type a name and past the Identifier you copied to Notepad few steps before:
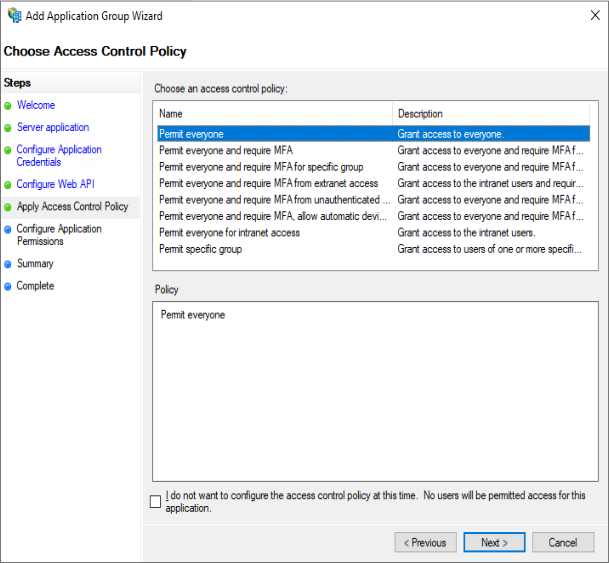
Select “Permit Everyone“
Check “allatclaims” and verify “openid” is already checked
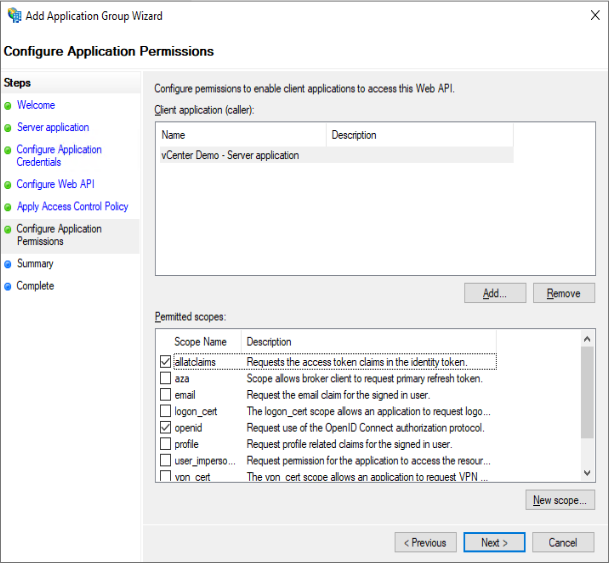
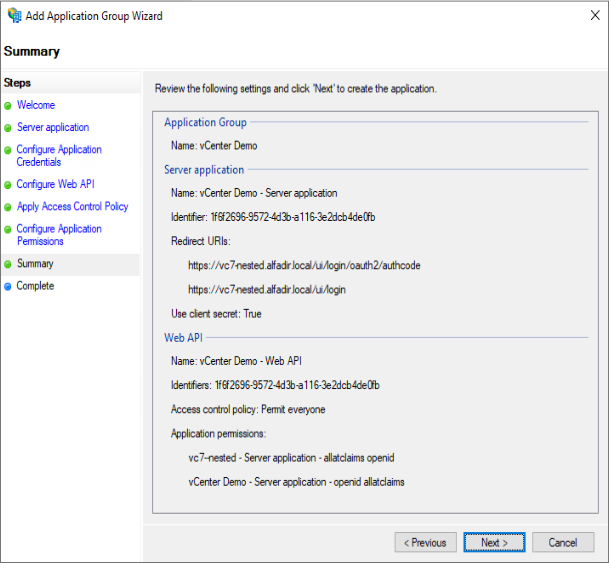
Control every thing is ok and click Next to complete the wizard
Now we have few change to perform so vCenter will be able to understand what is sent to him and so authenticate your users:
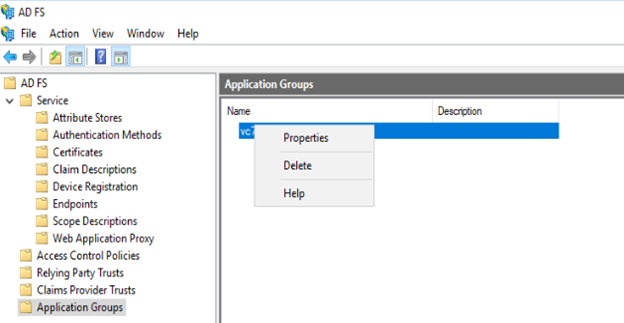
Right click on your vCenter application group and select “Properties“
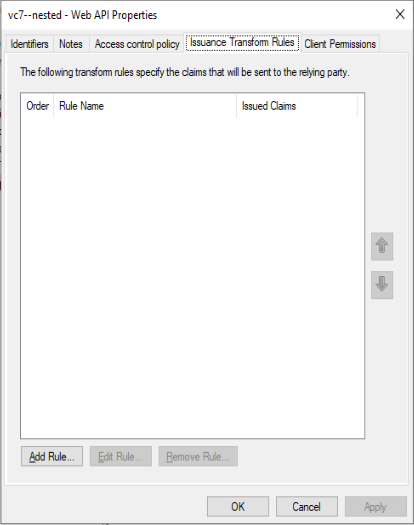
Select the Web-API and click Edit
Select tap “Insuance Transform Rules“
Click “Add Rules“
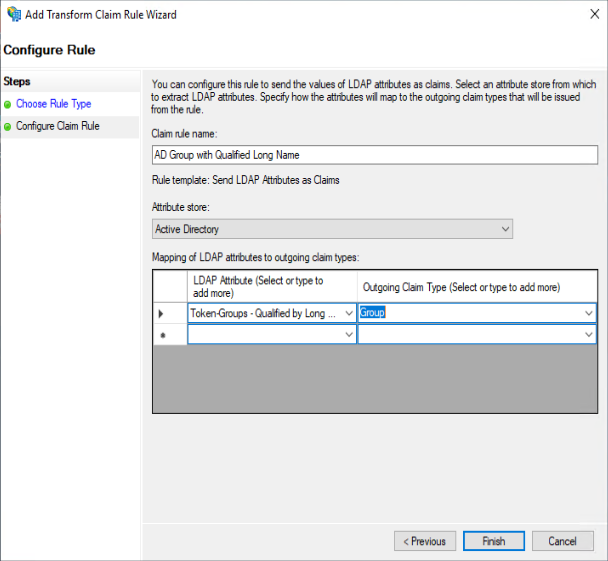
Give a name like “AD Group with Qualified Long Name“
Select “Active Directory” as Attribute Store
Select “Token-Groups – Qualified by Long Domain Name” as LDAP Attribute
Select “Group” as Outgoing Claim Type
Click OK
Add another rule :
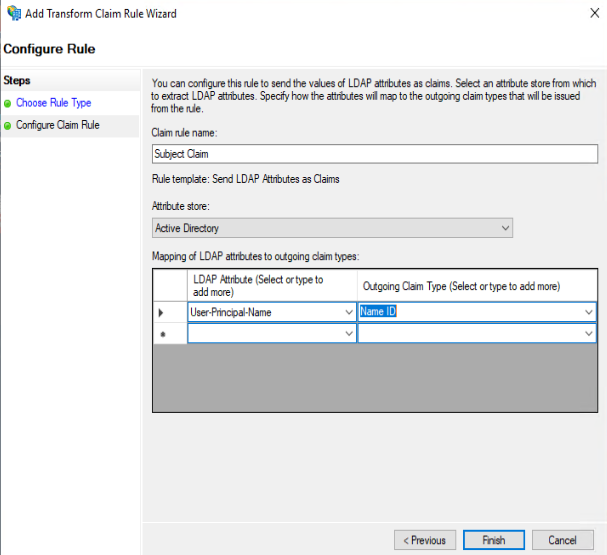
Give a name like “Subject Claim“
Select “Active Directory” as Attribute Store
Select “User-Principal-Name” as LDAP Attribute
Select “Name ID” as Outgoing Claim Type
Click OK
And finally add a third rule :
Give a name like “User Principal Name“
Select “Active Directory” as Attribute Store
Select “User-Principal-Name” as LDAP Attribute
Select “UPN” as Outgoing Claim Type
Click OK

That is for AD FS no let’s come back to your vCenter
Go to Menu \ Administration then Single Sign On \ Configuration
Click “Change Identity Manager“
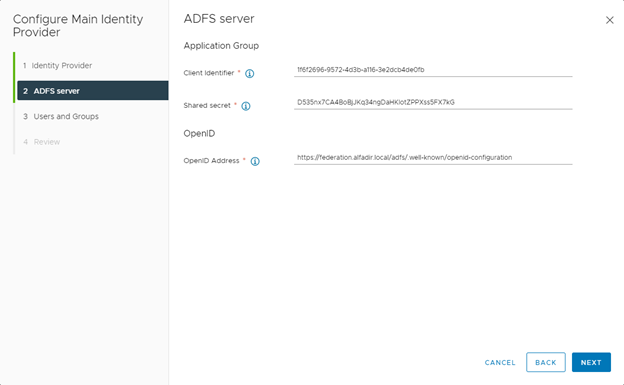
Select “Microsoft ADFS“

Copy your “Client Identifier” from AD FS
Copy your “Shared secret” from AD FS
Specify the OpenID Address who should be : https://<federation_fqdn>/.well-known/openid-configuration
File information about the LDAP configuration
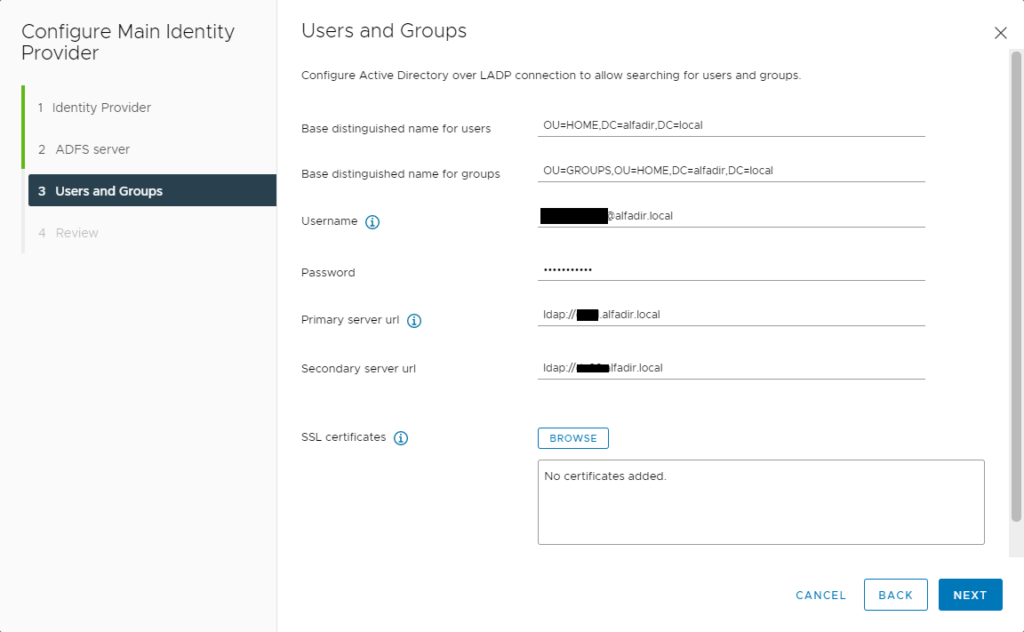
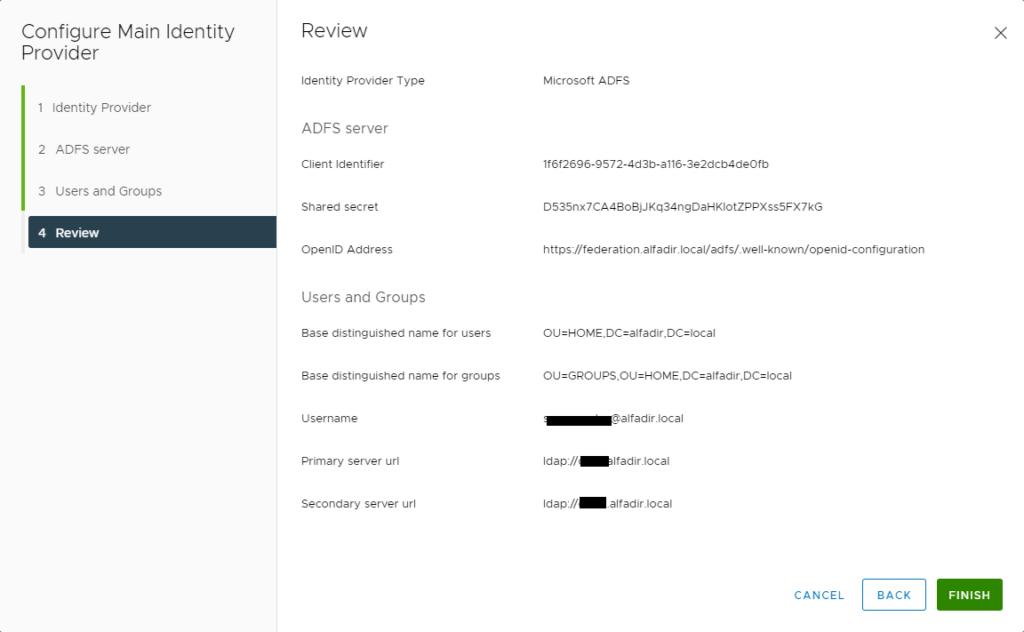
Check everything is fine and click Finish
Now go to Menu \ Administration then Single Sign On \ Users and Groups \ Groups
Click “Add” to add a group
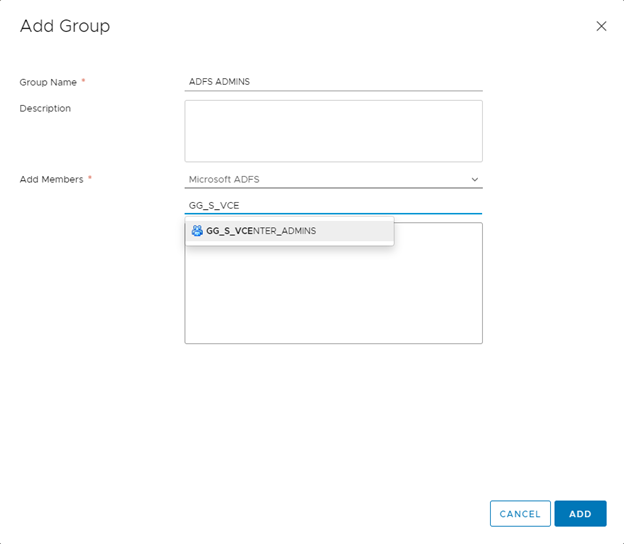
Give a name to your group
In Add Members, select “Microsoft ADFS“
Type the first letters of the group, it should find it
Click “Add“
Now go to Menu \ Administration then Access Control \ Global Permissions
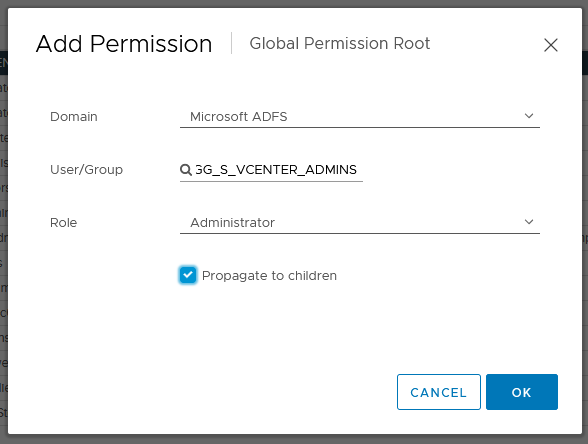
Click “+“
Select Microsoft ADFS in “Domain”
Select your group in “User / Group”
Select the role you want to set for this group
You can log in using your AD FS Account 🙂
As I wrote before : no issue with Horizon :

Or with App Volumes

Recent Comments